
We’ve all been there—looking down at grown-out, lifting, or simply outdated acrylic nails and wondering if it’s time for a change. While the salon can professionally remove those acrylics, the cost (typically $15-25) and time commitment might have you searching for how to remove acrylic nails at home. But here’s the catch: improper removal can seriously damage your natural nails, leaving them thin, brittle, and prone to breaking.
The good news? You absolutely can learn how to remove acrylic nails at home—if you follow the right techniques. This comprehensive guide on how to remove acrylic nails walks you through multiple safe methods, essential aftercare, and crucial safety precautions to protect your natural nails.
Removing acrylic nails at home can be done safely by soaking them in pure acetone, carefully filing them down layer by layer, or using the “baggy method” for gentler removal. This guide on how to remove acrylic nails covers everything from preparation to post-removal nail recovery.
Why Proper Removal is CRUCIAL
Before diving into the techniques for how to remove acrylic nails, let’s understand why proper removal matters so much:
The Risks of Improper Removal:
- Nail thinning and weakening
- Painful breaking and tearing
- Nail bed damage
- Potential infections if the nail bed is exposed
- Slower natural nail regrowth
The Benefits of Proper Removal:
- Maintains natural nail integrity
- Prevents painful damage
- Creates a healthy foundation for your next manicure
- Saves money in the long run (no repair treatments needed!)
Taking the extra time to learn how to remove acrylic nails correctly isn’t just about aesthetics—it’s about nail health. Your natural nails will thank you!
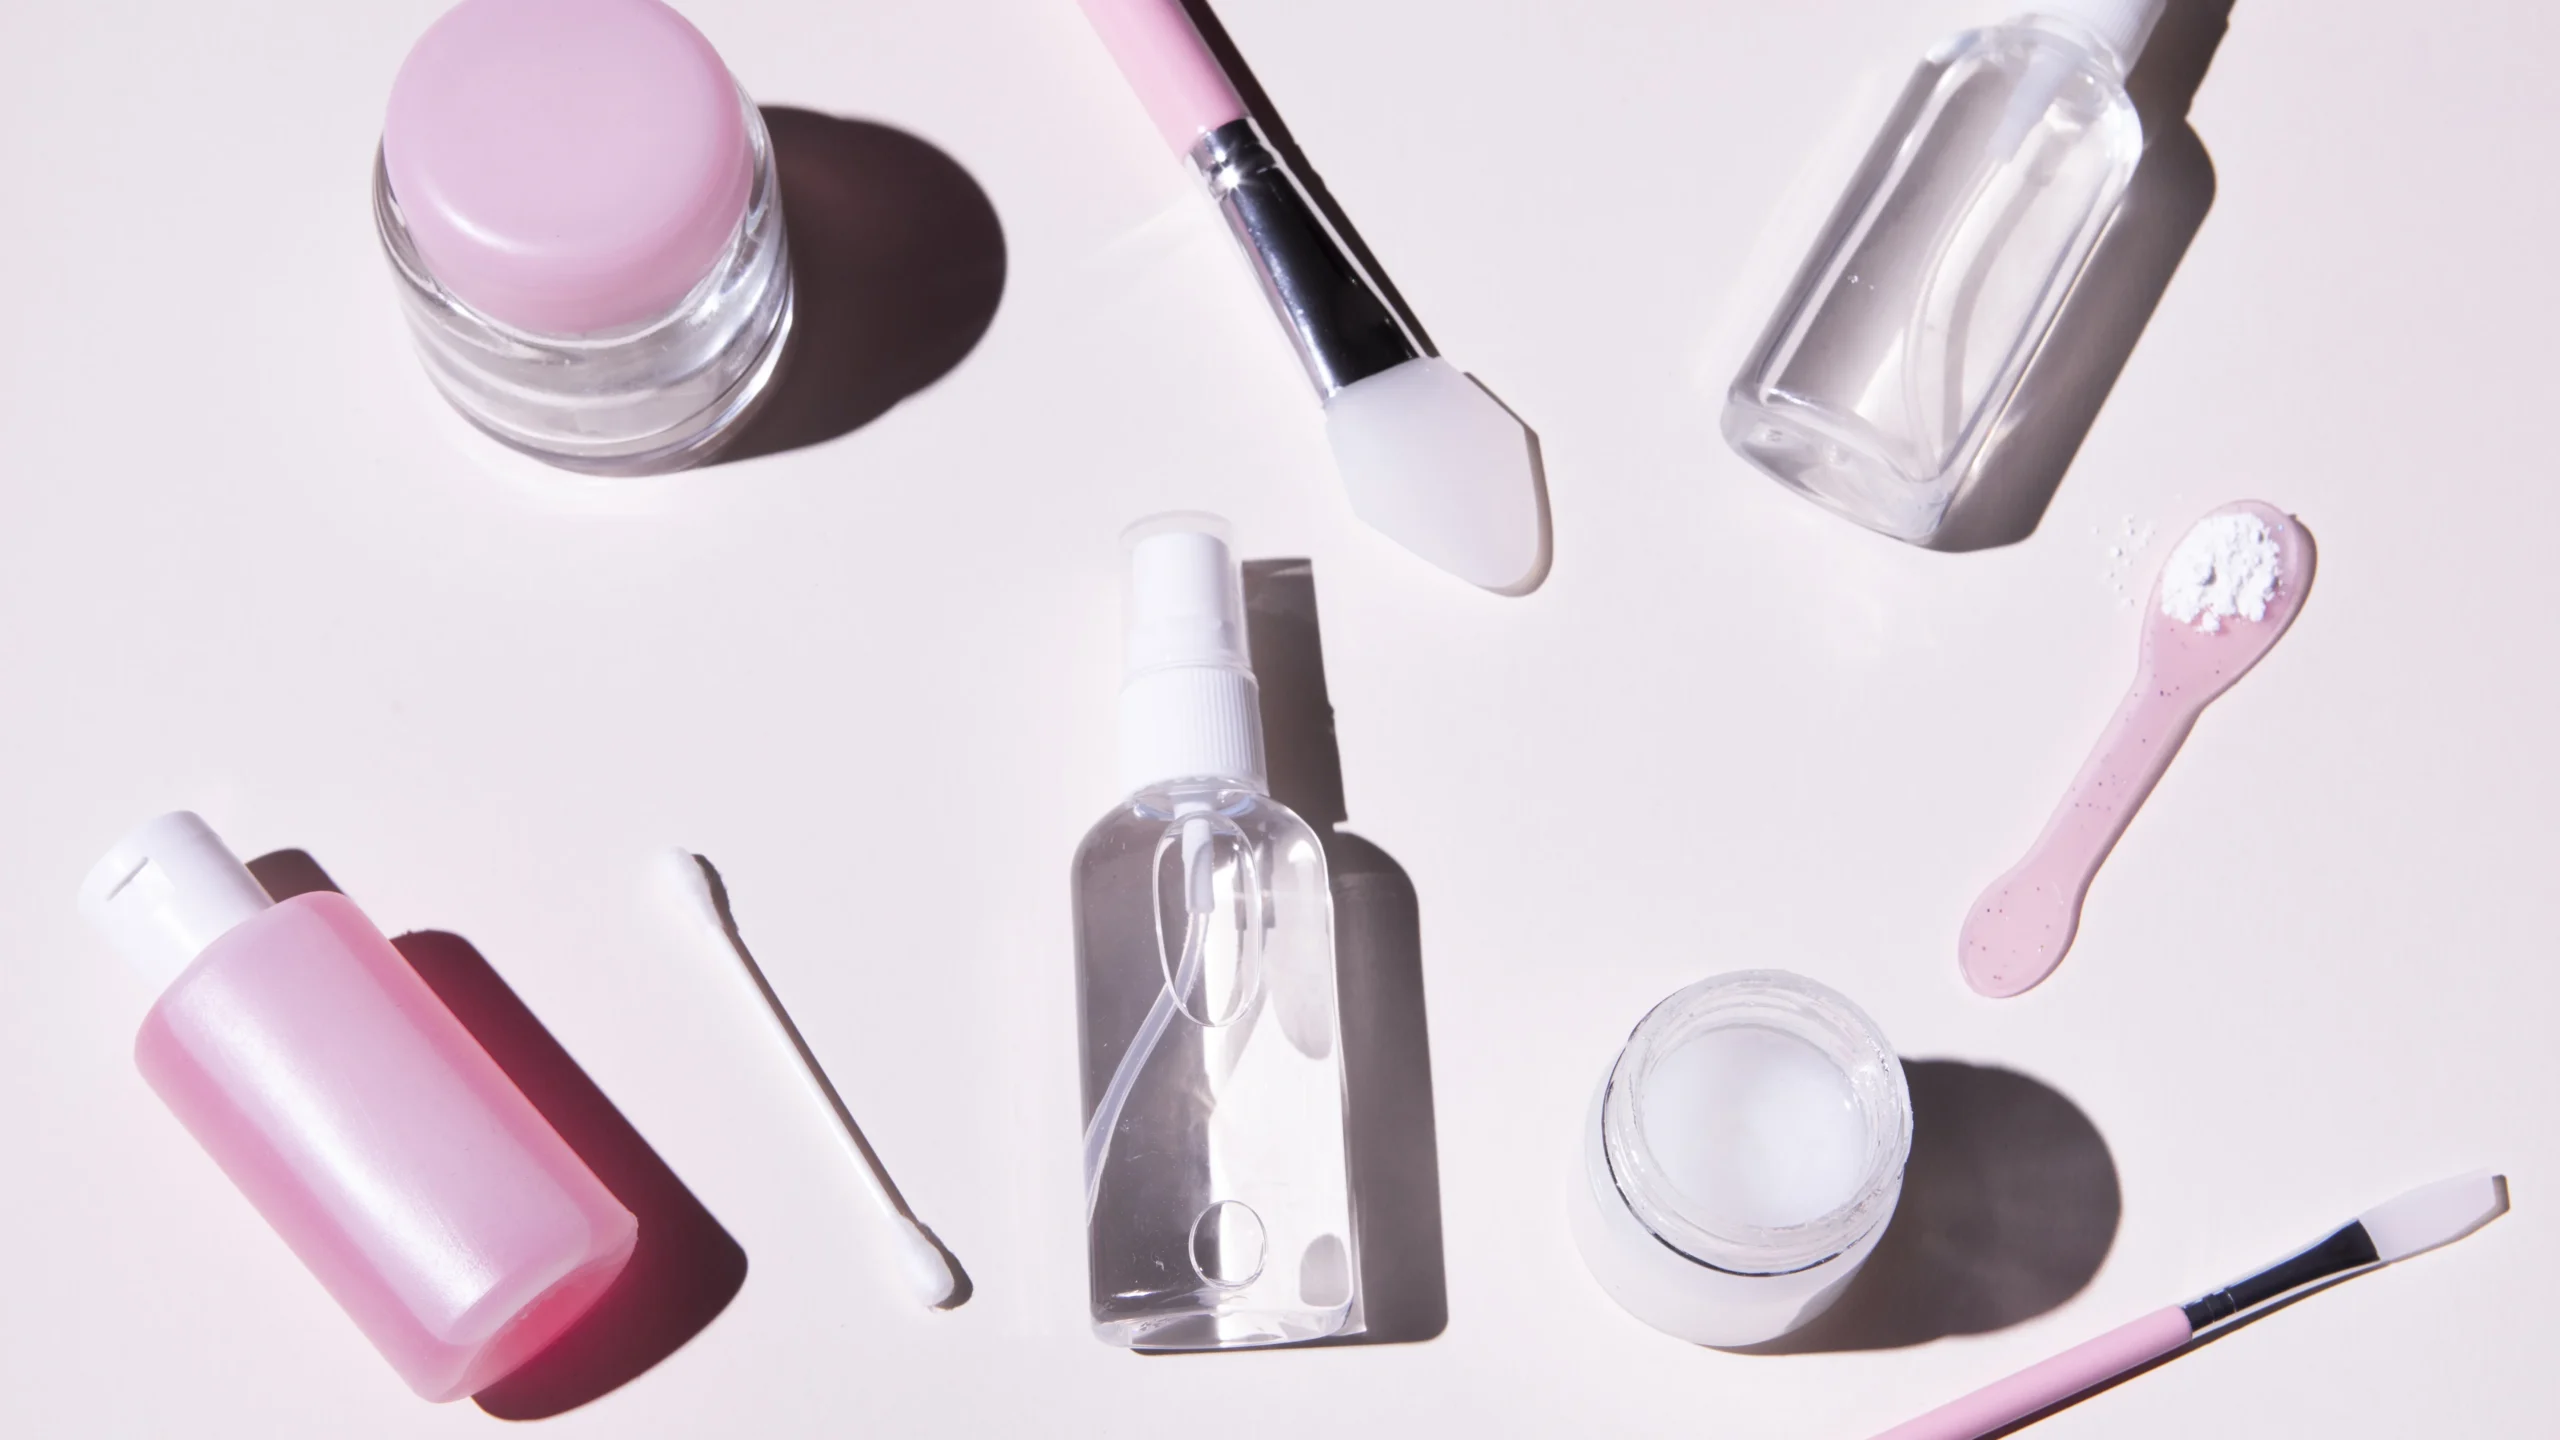
Before You Begin: Essential Prep & Tools
Proper preparation is half the battle when learning how to remove acrylic nails. Gather all necessary supplies before starting to make the process smoother and more efficient.
Universal Supplies (For Any Method of How to Remove Acrylic Nails):
- Nail clippers (heavy-duty if possible)
- Coarse nail file (100/180 grit)
- Buffer block
- Orange wood stick or metal cuticle pusher
- Cotton balls or pads
- Aluminum foil (cut into small squares)
- Petroleum jelly or cuticle oil
- Hand towel or paper towels
- Bowl of warm water
Method-Specific Supplies:
For Acetone Soak Method:
- 100% pure acetone (NOT regular nail polish remover)
- Glass or ceramic bowl (acetone can damage plastic)
- Optional: small heating pad or warm towel
For Filing Method (Non-Acetone):
- Various grit files (100/180, 180/240, and finer)
- Extra patience and time
For Electric File Method (E-File):
CAUTION: E-files are professional tools that require training. If you’re not experienced with e-files, it’s safer to use manual methods. Improper e-file use can cause serious nail bed damage.
If you do have experience:
- Low-speed electric nail drill
- Appropriate sanding bands/bits (medium to fine grit)
- Dust mask (for airborne acrylic particles)
Now that you’re prepared, let’s explore each removal method in detail.
Method 1: The Traditional Soak-Off Technique for Acetone Removal of Acrylic Nails
The acetone soak is the most popular and generally most effective method for how to remove acrylic nails at home. This process uses acetone to dissolve the acrylic, making it soft enough to gently scrape away without damaging your natural nails.
Step 1: Shorten the Acrylics
When learning how to remove acrylic nails, the first step is to trim them down. Using nail clippers, carefully trim your acrylic nails as short as comfortably possible. This reduces the amount of acrylic that needs to be dissolved.
Pro Tip: Cut straight across rather than in a curved shape to avoid nail stress.
Step 2: File the Top Coat
This crucial step in how to remove acrylic nails is often overlooked but makes a huge difference in acetone penetration. Using your coarse nail file (100/180 grit):
- Remove the shiny gel topcoat if present
- Rough up the entire surface of each acrylic nail
- File until the entire nail has a matte, scratched appearance
- Dust off filing residue with a brush or towel
The acetone needs to penetrate the acrylic to dissolve it, and the glossy topcoat creates a barrier that prevents this.
Step 3: Protect Your Skin
When learning how to remove acrylic nails with acetone, remember that acetone is extremely drying to skin and cuticles. Apply a generous layer of petroleum jelly or cuticle oil around each nail, covering the surrounding skin and cuticles. This creates a protective barrier against the drying effects of acetone.
Step 4: The Soaking Process (Two Options for How to Remove Acrylic Nails)
Option A: Bowl Method for How to Remove Acrylic Nails
- Pour enough pure acetone into a glass bowl to fully submerge your fingertips
- Place the bowl inside a larger bowl filled with warm water (this gently heats the acetone, making it more effective)
- Submerge fingertips in the acetone
- To help the acetone work, occasionally wiggle your fingers while soaking for 15 to 20 minutes.
- Check one nail – if the acrylic hasn’t softened, continue soaking in 5-minute increments
Option B: Foil Wrap Method for How to Remove Acrylic Nails
- Saturate a cotton ball with pure acetone
- Directly cover each nail with the moistened cloth.
- Wrap each fingertip tightly with a small square of aluminum foil
- Leave wrapped for 15-20 minutes
- For extra effectiveness, wrap your hands in a warm towel to add heat
Step 5: Gently Scrape
The acrylic should be gummy and soft after a sufficient amount of soaking time. When learning how to remove acrylic nails, this step requires a gentle touch. Working one nail at a time:
- Remove the foil/cotton or remove your finger from the acetone
- The softened acrylic should be gently pushed away from your natural nail with an orange wood stick or cuticle pusher.
- Start at the cuticle and work toward the free edge
- Use very light pressure – if you meet resistance, the acrylic needs more soaking time
NEVER force or pry at the acrylic. If it’s not coming off easily when practicing how to remove acrylic nails, rewrap with fresh acetone-soaked cotton and try again after 5-10 minutes.
Step 6: Buff & Shape
Once all acrylic is removed when following how to remove acrylic nails techniques:
- Gently buff the nail surface with a fine buffer to remove any remaining acrylic residue
- Shape the nail edges with a fine file
- Wash hands thoroughly to remove all acetone
Pros & Cons of Acetone Method for How to Remove Acrylic Nails
| Pros | Cons |
|---|---|
| Most effective for complete removal | Acetone is very drying to nails and skin |
| Generally faster than filing method | Strong chemical odor requires ventilation |
| Less physical damage risk than filing | Can cause temporary nail whitening |
| Works on most acrylic formulations | Not suitable for some medical conditions |
| Minimal equipment needed | Cannot be used near open flames (flammable) |
Method 2: How to Remove Acrylic Nails Without Acetone: The Manual Filing Technique
If you prefer to avoid acetone or have sensitivities to it, the filing method offers an alternative way for how to remove acrylic nails, though it requires more time and patience.
Step 1: Shorten and Debulk
When learning how to remove acrylic nails without acetone:
- Clip acrylics as short as possible without causing discomfort
- Using your coarsest file (100 grit), begin filing down the bulk of the acrylic
- Work in one direction only to prevent nail stress
- Focus on reducing the thickness, especially at the thickest points (usually the center)
Step 2: Careful Filing
This is where patience becomes crucial when learning how to remove acrylic nails by filing:
- Continue filing with a medium-grit file (180 grit)
- Work in thin layers, frequently pausing to check your progress
- As you get closer to your natural nail, you’ll notice a change in texture and appearance
- The acrylic will be more opaque white, while your natural nail has a pinkish tone
- Slow down significantly when you start seeing glimpses of your natural nail
IMPORTANT: Learn to feel the difference between acrylic and natural nail. Acrylic feels harder and doesn’t have the slight flexibility of natural nails. When in doubt, take a break and go slower.
Step 3: Dust Off & Assessment
Every few minutes:
- Brush away filing dust completely
- Examine your progress under good lighting
- Look for transitions in color and texture that indicate you’re approaching the natural nail
- Continue only after careful assessment
Step 4: Final Buffing
When you’ve removed most acrylic:
- Switch to your finest buffer
- Very gently smooth any remaining roughness
- Be extremely cautious not to buff your natural nail
- Finish with a light hand washing and nail oil application
Pros & Cons of Filing Method for How to Remove Acrylic Nails
| Pros | Cons |
|---|---|
| No harsh chemicals | Much more time-consuming |
| No strong odors | Higher risk of over-filing natural nails |
| Can be done anywhere | Requires more tools and skill |
| Better for those with acetone sensitivity | Creates nail dust (respiratory consideration) |
| More control over the process | Generally more difficult for beginners |
Method 3: How to Remove Acrylic Nails with the “Baggy” Method
This lesser-known method for how to remove acrylic nails combines the effectiveness of acetone with gentle heat for potentially faster results.
How to Remove Acrylic Nails with the Baggy Method:
- Fill a ziplock bag with enough pure acetone to cover your fingertips
- Place your fingertips into the bag, ensuring nails are fully submerged
- Seal the bag around your wrists (not tightly)
- Place your hands, bag and all, into a bowl of warm (not hot) water
- The warm water heats the acetone, accelerating the dissolution process
- Soak for 15-20 minutes
- Take out and use the same light scraping technique as in Method 1.
Why This Method of How to Remove Acrylic Nails Works:
The sealed bag prevents acetone evaporation while the warm water bath helps the acetone work more efficiently. Some find this method dissolves acrylic faster than traditional soaking.
| Pros | Cons |
|---|---|
| Less acetone evaporation | More awkward positioning |
| Potentially faster removal | Risk of leaks with poor-quality bags |
| Heat accelerates the process | Limited finger mobility during soaking |
| Less acetone odor | Requires additional materials |
CRITICAL: What NOT To Do When Learning How to Remove Acrylic Nails
1. DON’T Pry or Rip Off Acrylics
When learning how to remove acrylic nails, remember that forcibly removing them can tear away layers of your natural nail, causing pain, bleeding, and long-term damage. This can take months to grow out and heal properly.
2. DON’T Over-File Your Natural Nail
A critical rule when learning how to remove acrylic nails: filing should stop as soon as you reach your natural nail. Over-filing thins the nail plate, causing weakness, breaking, and potential infection risk.
3. DON’T Use Non-Pure Acetone Alternatives
When learning how to remove acrylic nails, remember that regular nail polish remover won’t effectively dissolve acrylic.Only 100% pure acetone has the necessary strength. Other household chemicals can cause nail damage or skin reactions.
4. DON’T Rush the Process
Proper acrylic removal takes time—usually 30-60 minutes depending on the method. Rushing increases the risk of damage. Set aside adequate time and be patient.
5. DON’T Forget to Ventilate
Acetone produces strong fumes that can cause headaches, dizziness, or nausea. Always work in a well-ventilated area with open windows or fans.
6. DON’T Reuse Acetone
When practicing how to remove acrylic nails, once acetone has dissolved acrylic, it contains acrylic particles and is less effective. Always use fresh acetone for best results.
7. DON’T Skip Aftercare
The process of how to remove acrylic nails is drying and potentially stressful for your nails. Proper aftercare is essential for nail health and recovery.
Essential Aftercare: How to Heal & Strengthen Nails After Learning How to Remove Acrylic Nails
Your nails deserve some serious TLC after acrylic removal. Follow these steps to restore health and strength.
Step 1: Gentle Buff & Shape after Learning How to Remove Acrylic Nails
- Use the finest buffer to smooth any remaining roughness
- Shape free edges with a fine grit file
- Keep nails shorter while they strengthen to prevent breaking
Step 2: Hydrate, Hydrate, Hydrate
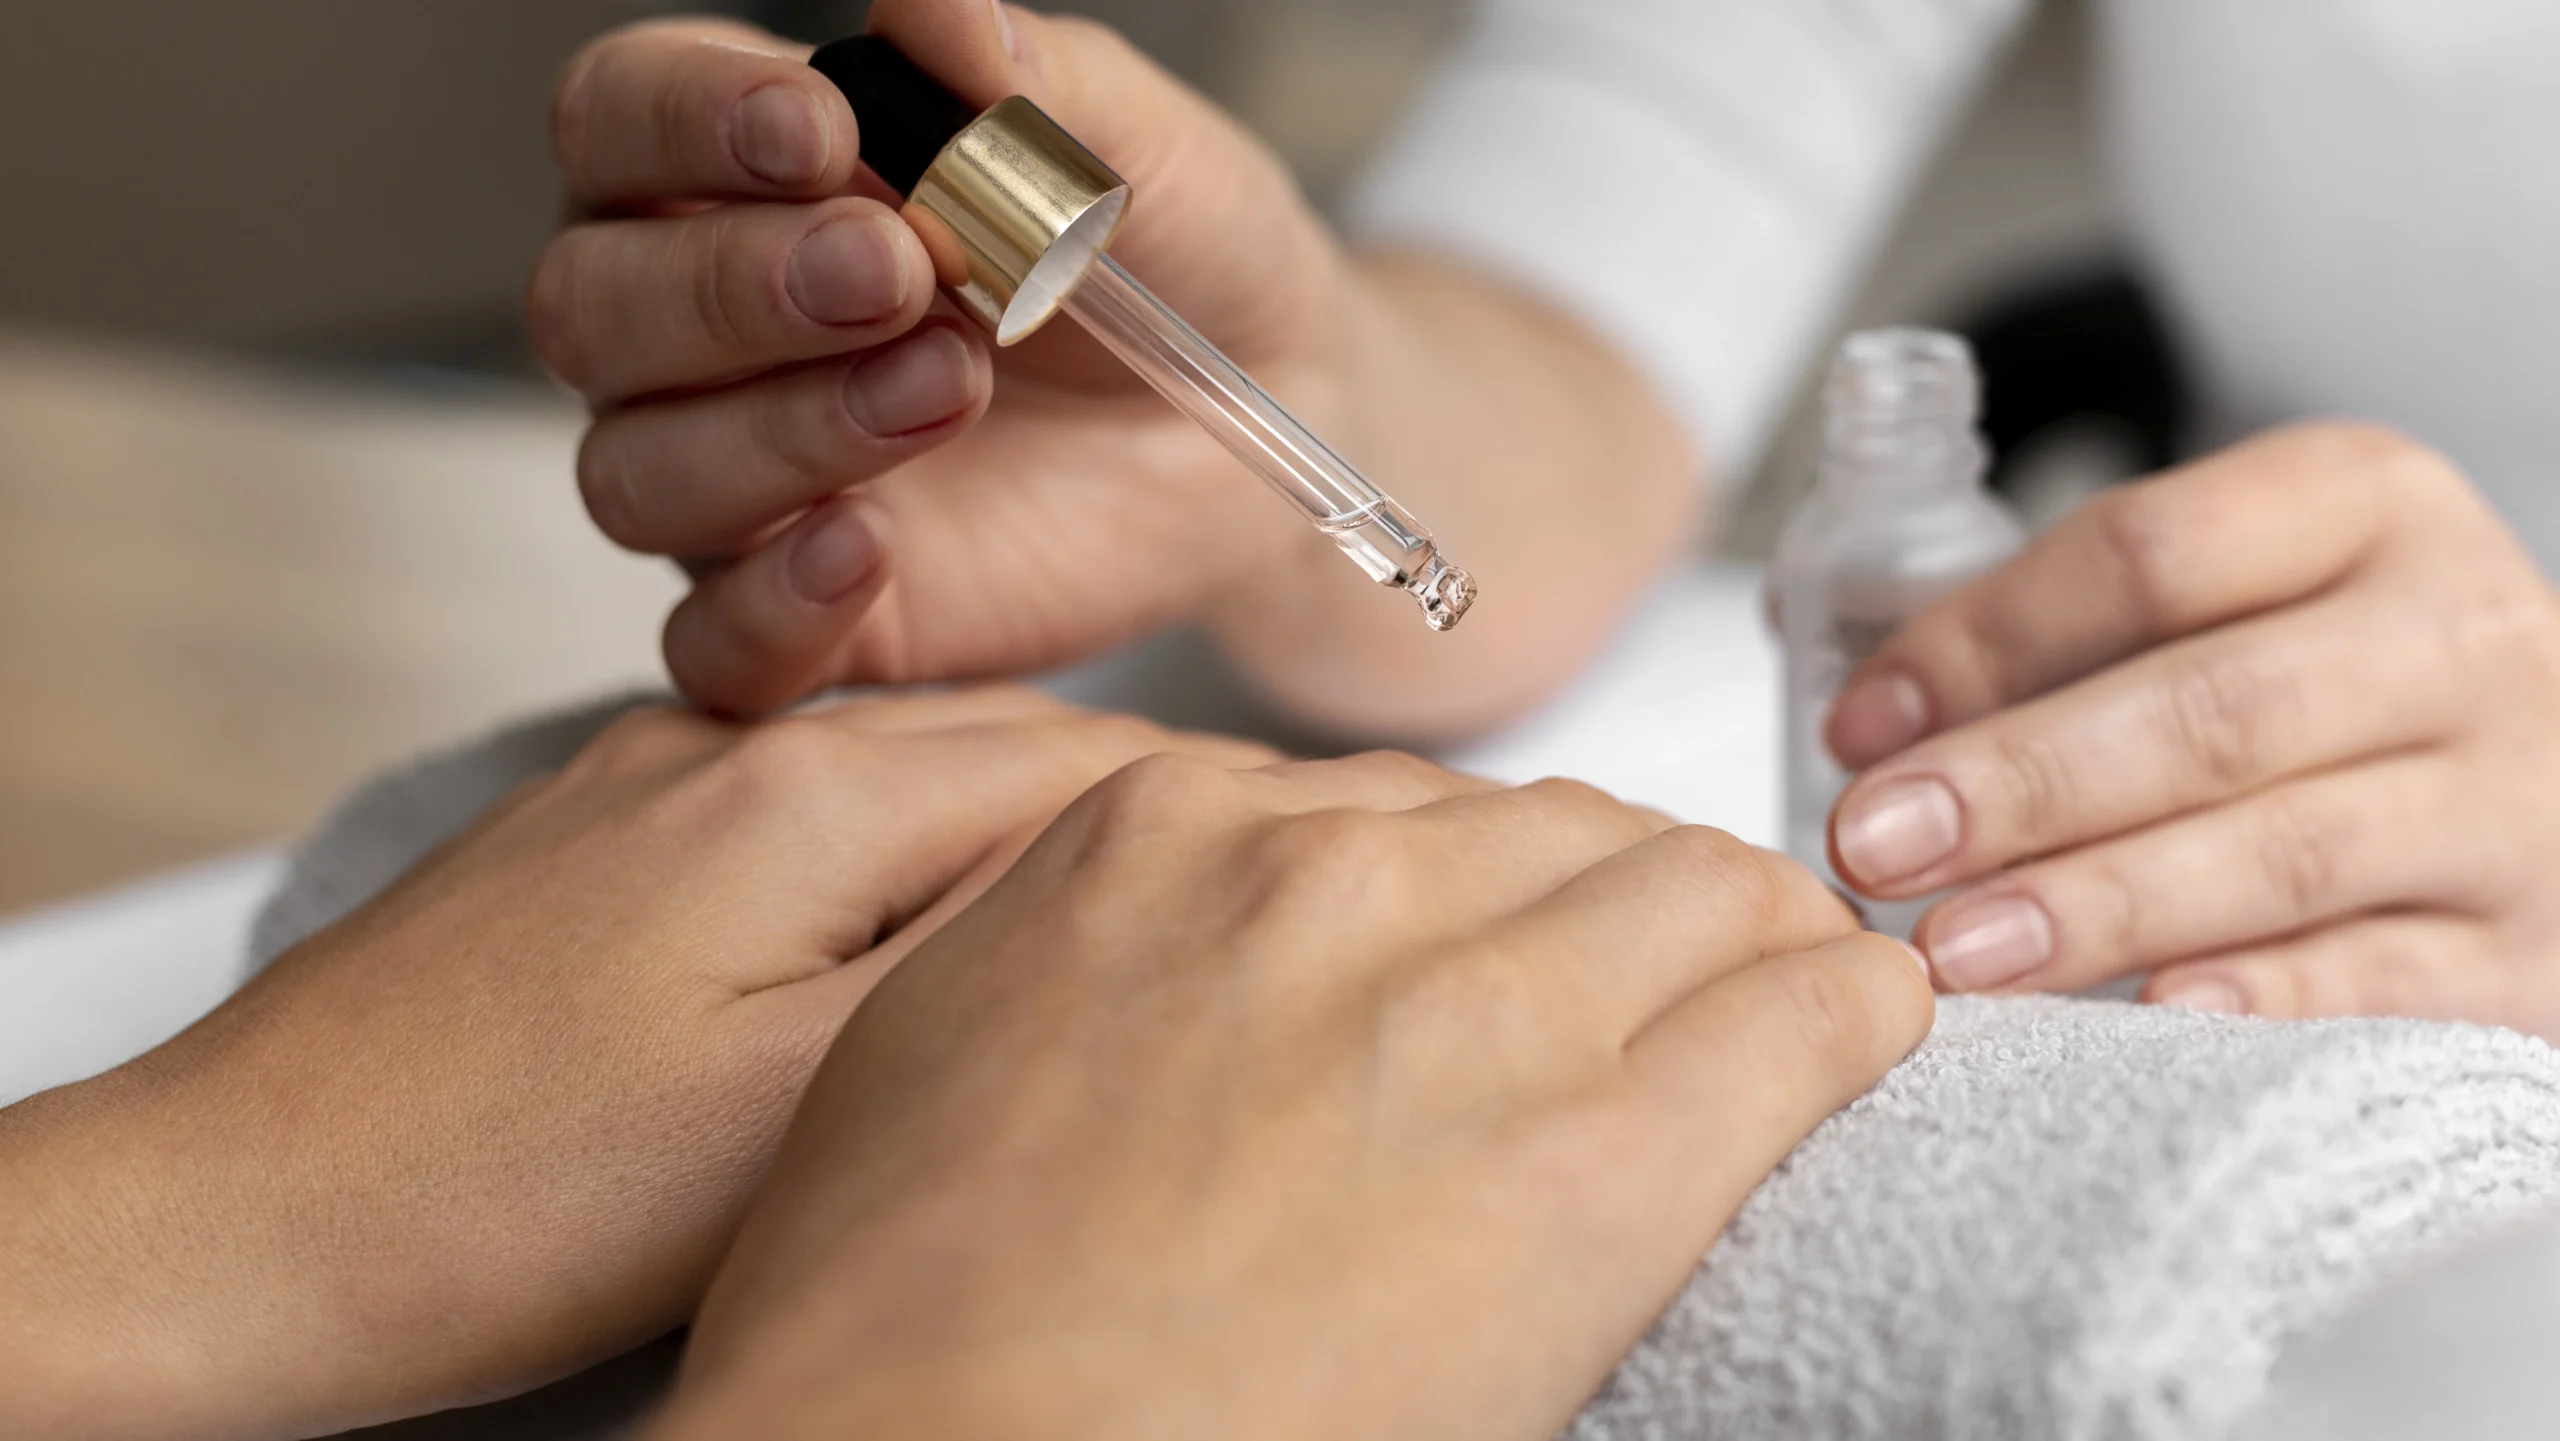
- Apply cuticle oil at least 3-5 times daily
- Massage thoroughly into nails and cuticles
- Use a rich hand cream after every hand washing
- Consider overnight treatment with heavy moisturizer and cotton gloves
Step 3: Apply Nail Strengthener
- Choose a nail strengthener with keratin, calcium, or biotin
- Apply according to product instructions (typically every 1-2 days)
- Continue treatment for at least 2-4 weeks
Step 4: Give Nails a Break
- Allow nails to remain enhancement-free for at least 1-2 weeks
- Consider breathing time between enhancement services
- If you must have polish, use breathable formulations
Step 5: Focus on Internal Health
- Stay hydrated (8+ glasses of water daily)
- Consider supplements like biotin, collagen, or silica (consult healthcare provider first)
- Eat nail-healthy foods rich in:
- Protein (chicken, fish, beans)
- Biotin (eggs, nuts, whole grains)
- Iron (spinach, lean red meat)
- Zinc (pumpkin seeds, chickpeas)
Recovery Timeline: Most nails show significant improvement within 2-3 weeks of proper aftercare, though complete recovery can take 3-6 months as the nail grows out fully.
FAQ About How to Remove Acrylic Nails
My acrylics aren’t coming off easily, what am I doing wrong when trying to remove acrylic nails?
The most common issues when learning how to remove acrylic nails are:
- Not filing off the top coat properly
- Using diluted or non-pure acetone
- Not soaking long enough
- Using cold acetone (warm works better)
Try filing the surface more thoroughly, ensure you’re using 100% pure acetone, and increase soaking time by 5-10 minutes.
How long does it take to remove acrylic nails at home?
When learning how to remove acrylic nails at home, expect to spend:
- Acetone Method: 30-45 minutes
- Filing Method: 45-90 minutes
- Baggy Method: 25-40 minutes
Timing varies based on acrylic thickness, application type, and your technique.
Can I reuse the acetone when removing acrylic nails?
It’s not recommended when learning how to remove acrylic nails. Once acetone has dissolved acrylic, it contains particles that make it less effective. For safety and efficiency, use fresh acetone each time.
My nails are extremely thin and damaged after removal. What should I do after learning how to remove acrylic nails?
For severely damaged nails:
- Follow the intensive aftercare regimen above
- Consider nail “bandages” (tea bag or silk wrap repairs)
- Consult a professional nail technician for repair options
- See a dermatologist if you notice signs of infection or severe separation
When should I definitely go to a salon for professional removal?
While learning how to remove acrylic nails at home works for many, consider professional help if:
- You have very thin or damaged natural nails
- Your enhancements are lifting or partially broken (increased risk of tearing)
- You’re dealing with specialty enhancements (SNS/dip powder, certain builder gels)
- You have medical conditions affecting your nails
- You’ve had difficulties with home removal in the past
- You notice any unusual nail bed appearance or pain
How soon can I get new acrylics after learning how to remove acrylic nails?
While technically you can apply new acrylics immediately after learning how to remove acrylic nails, nail health experts recommend a 1-2 week break minimum to allow your natural nails to recover and strengthen. This reduces the risk of long-term damage.
Conclusion:
Removing acrylic nails at home is absolutely doable with the right approach, tools, and—most importantly—patience. By following these methods for how to remove acrylic nails and taking the time to properly care for your nails afterward, you can transition between nail styles without compromising nail health.
